
Dashboard
Your workspace at a glance: guided onboarding, sending trends and queue health.
Key points
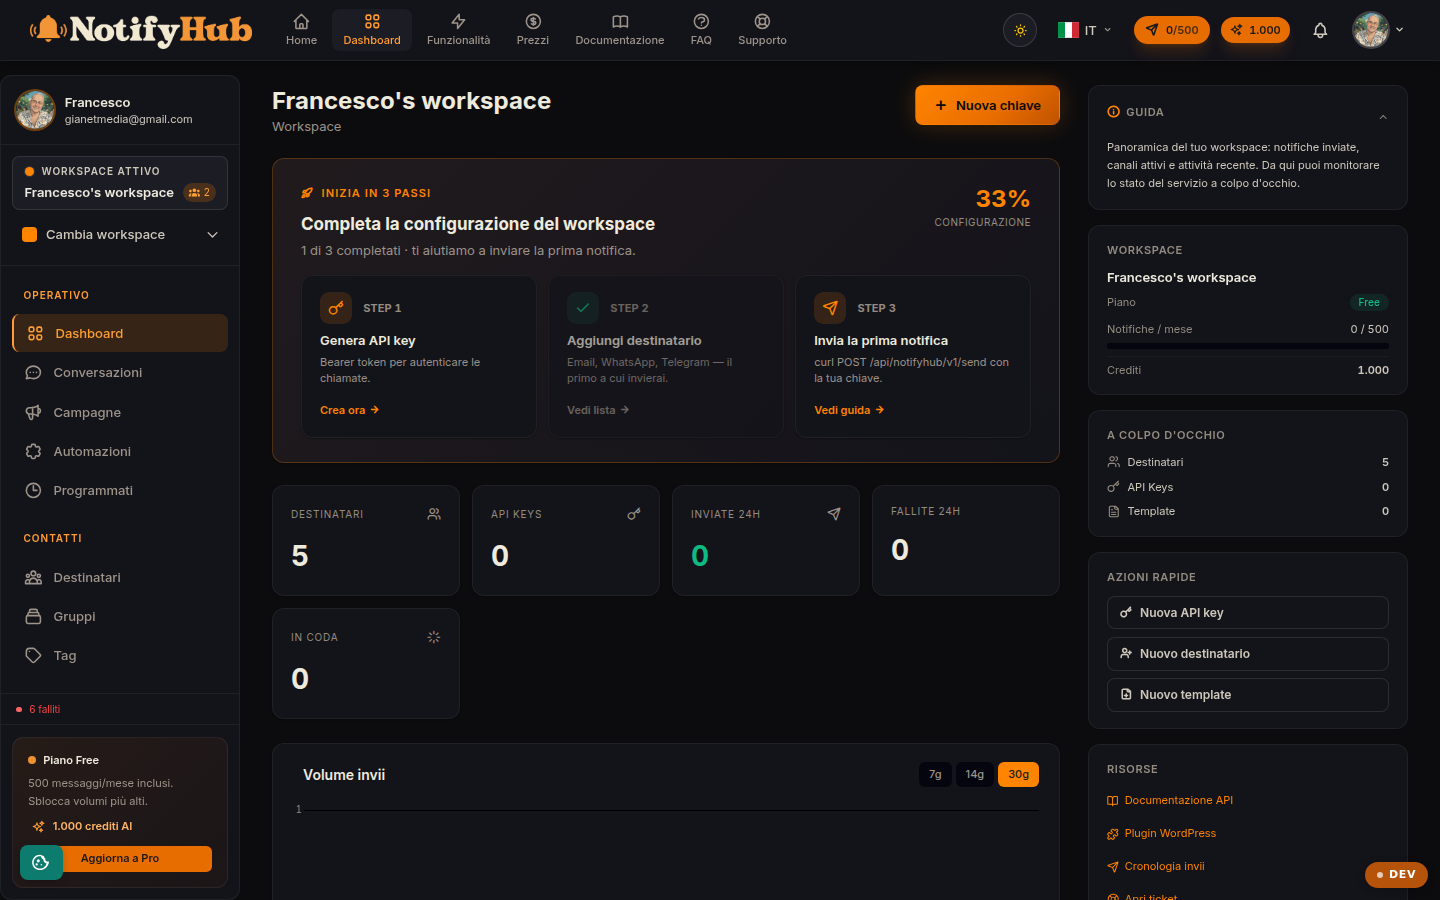
- Complete the three onboarding steps (API key, first recipient, first send) to activate the workspace.
- Watch the sent/delivered/failed chart to spot a channel that is not delivering right away.
- If you see failed jobs in the queue panel, open Deliveries to find out which notifications fell behind.
What this page is for
The dashboard is the first page of the NotifyHub portal and summarises the state of the active workspace. For new workspaces it shows the three-step onboarding: create an API key (API Keys section), add your first recipient and make your first send. Once you are up and running, the dashboard shows the chart of sends over time with the sent, delivered and failed legend.
Queue health
The "queue" panel shows pending and failed jobs: NotifyHub processes sends asynchronously, so a high number of pending jobs indicates a traffic spike, while failed jobs flag errors worth investigating (expired channel tokens, invalid recipients, provider limits). Under normal conditions both counters stay close to zero.
Where to go next
From the dashboard you can quickly reach the operational sections: Conversations to reply to customers, Campaigns for bulk sends, Recipients to manage contacts and Analytics for the full metrics. If an onboarding step is still pending, the dedicated button takes you straight to the right page.